Advanced Settings:
Measure Your System
Measure Your System: Select a Microphone
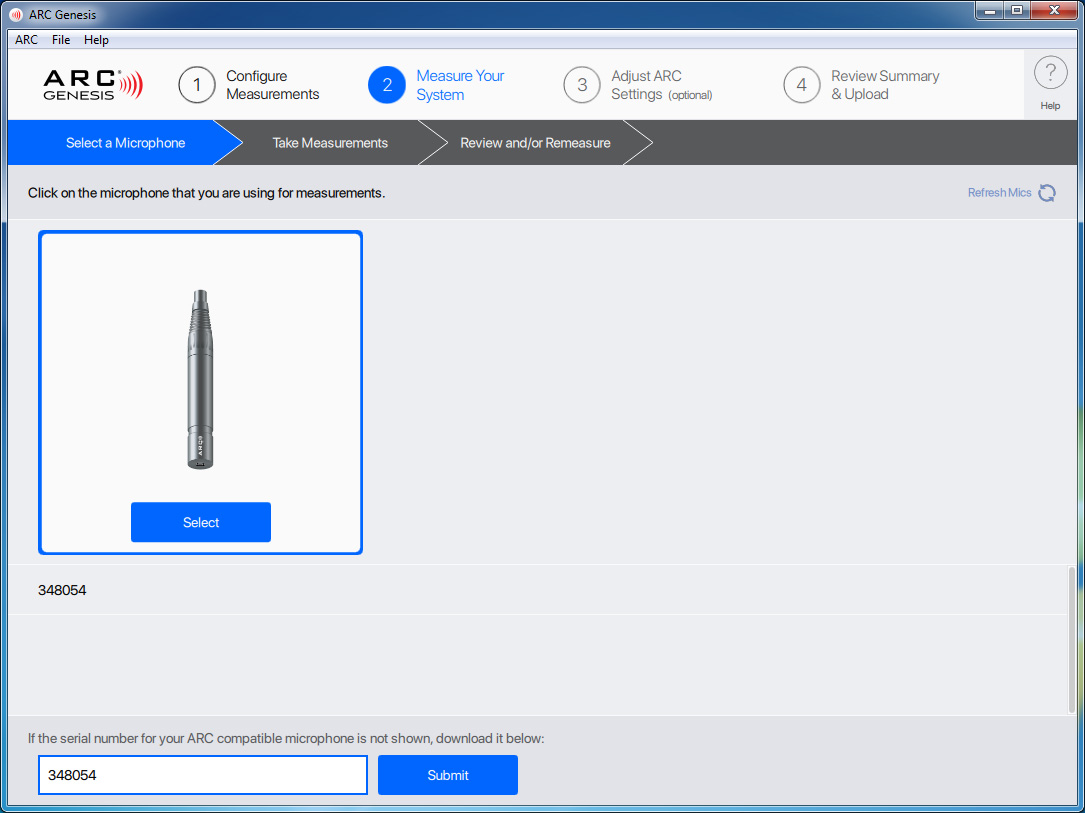
Select a Microphone tells the ARC software which style of microphone you are using. This step is vital because ARC takes the performance of individual mics into consideration when calculating correction curves.
Some microphones feature a 6-digit serial number that allows the ARC software to download response calibration curves for that specific microphone. If you have one of these microphones, input the serial number found on both the mic itself and the product carton, click ‘Submit,’ and ARC automatically downloads the microphone’s unique response curve.
Select your mic to continue to the next step.
If no microphone is displayed, the software was not able to detect one. Check all your connections and click “Refresh Mics” located near the Help button.
Optional: Assembling the Microphone Stand
Measure Your System: Take Measurements
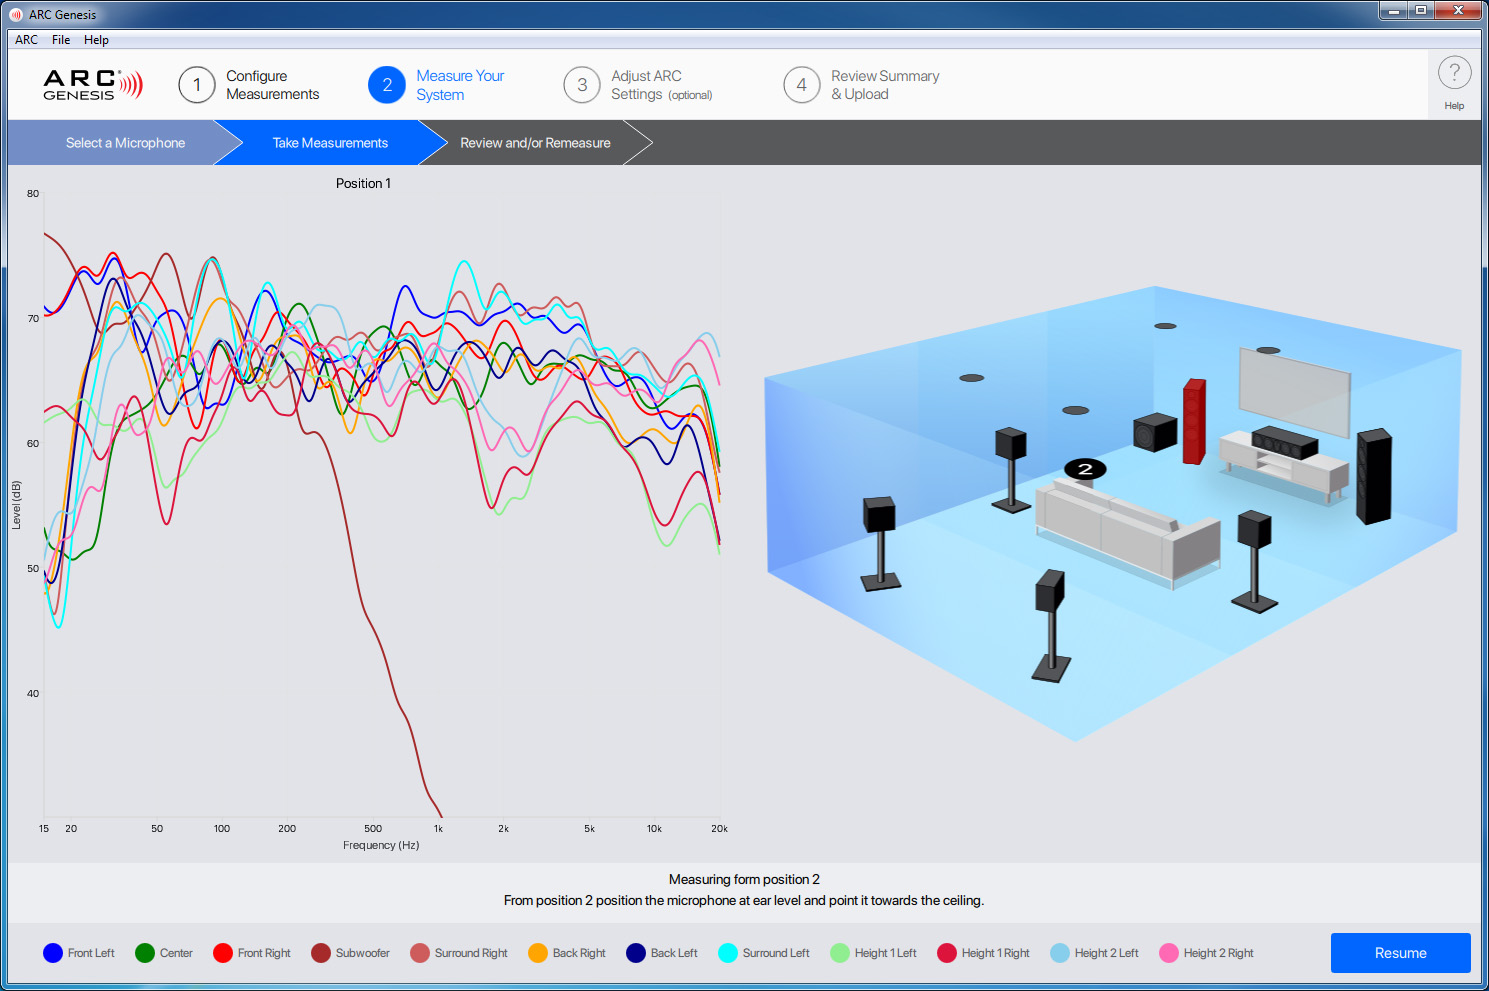
Put the mic into position 1 and click Start. This step plays a series of tones through each speaker channel and captures the resulting output for use when calculating ARC corrections. After the position 1 tones finish, you’ll see the mic position on the diagram move to position 2. Move the mic to position 2 as per the onscreen instructions, click Resume, and the tones cycle through the speakers again. This process repeats for the remaining measurement positions (we recommend measuring five locations for most rooms). Please pay careful attention to the onscreen instructions during this process. These instructions vary depending on the model of the ARC-compatible microphone.
Review and/or Remeasure
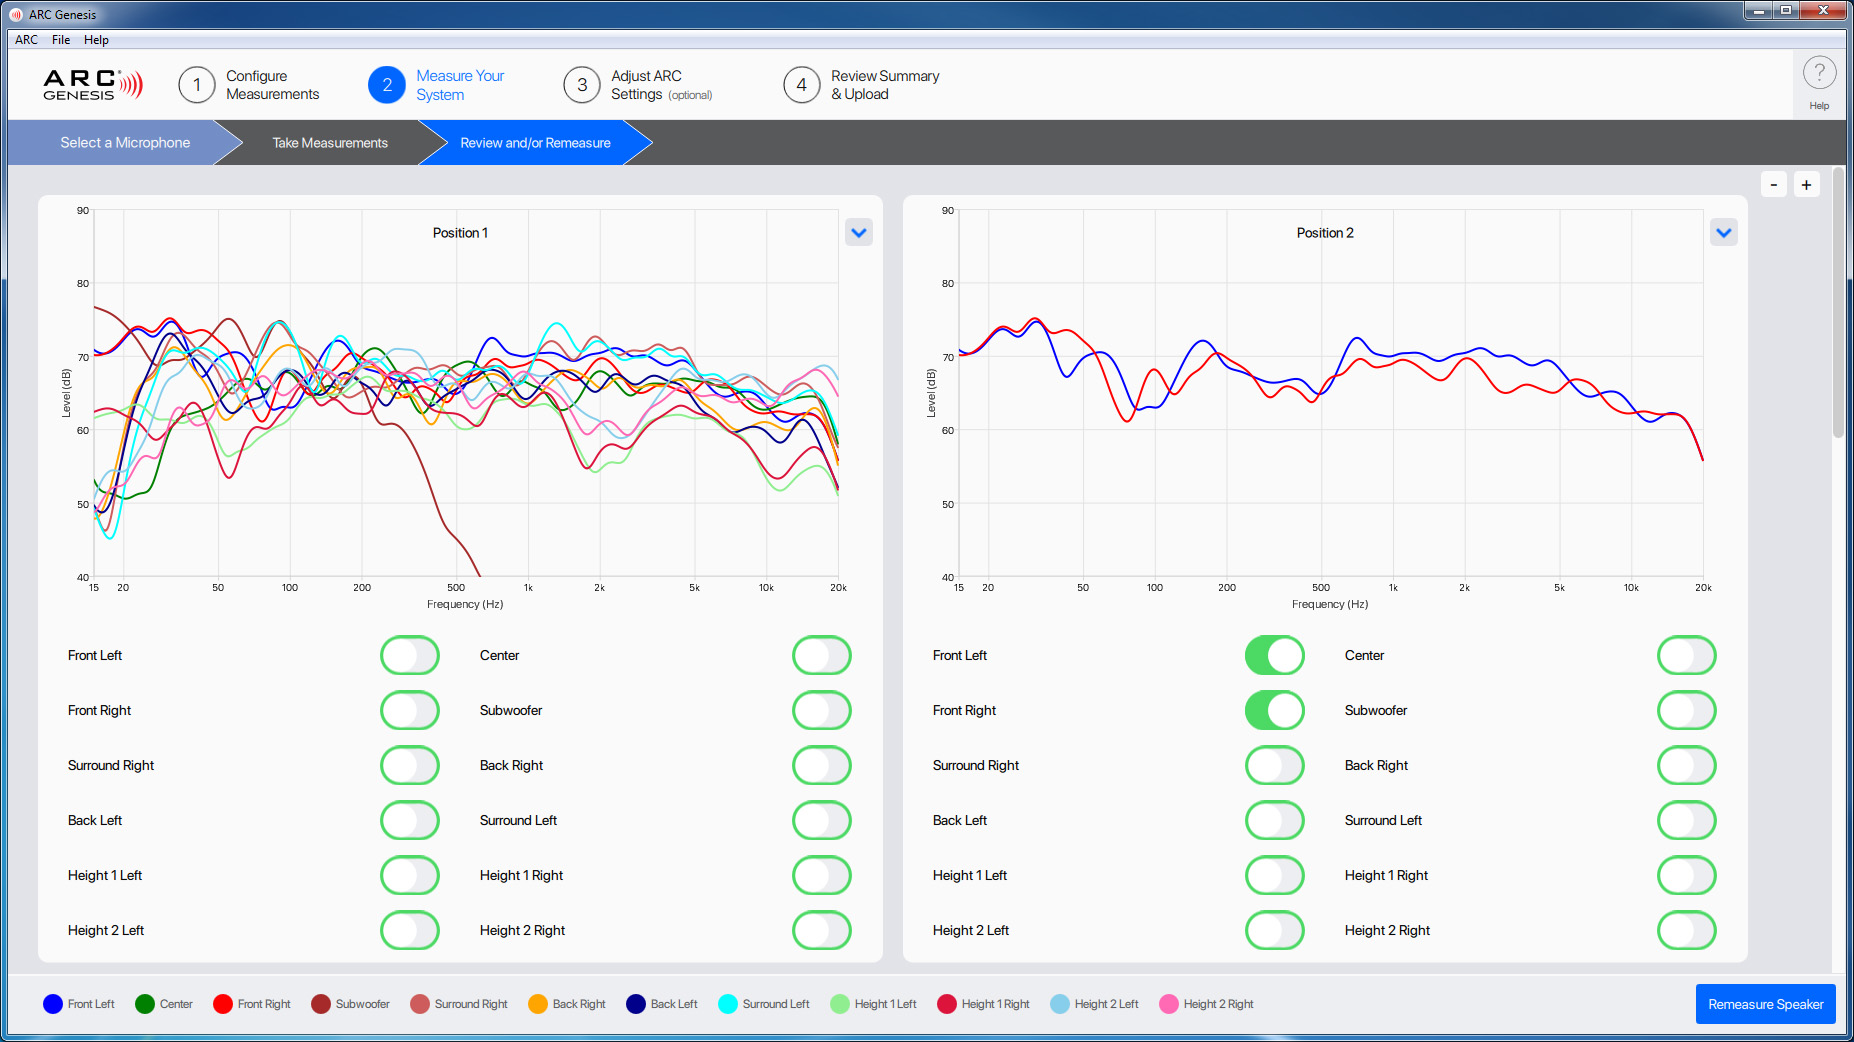
With the Review and/or Remeasure screen, you can view the original (unaltered) measurements for each speaker at any microphone position. By default, the software measures five microphone positions and shows five panels in this window. If you’ve chosen more than five microphone positions or take multiple measurement sets, the window expands to show all relevant measurements.
Here you can also choose to remeasure a specific speaker at any of the microphone positions. To remeasure, click the toggle next to the speakers in the locations you want to remeasure and click Remeasure Speaker.
By default, the graphs show all speakers for each measurement position. Selecting a toggle next to an individual speaker changes the graph to show just that speaker. Once you’ve selected all the speakers and positions you want to remeasure, click Remeasure. If you don’t want to make any changes, exit this screen by choosing Adjust ARC Settings or Review Summary & Upload from the navigation bar at the top of the screen.
The remeasure feature is useful if you realize something was wrong with a speaker during the original measurements. Additionally, you can save your ARC corrections and open the file at a later date. Opening a saved file allows you to make changes to your system without having to remeasure everything. For example, installing a new center channel and remeasuring just that speaker or moving your subwoofer to a new location within the room.